Note: The full source-code for this project is available here [source].
Note: A new article has been posted about optimizing a voxel engine [here].
When a project I am working on starts losing steam, I find that adding new visualizations can give me the motivation that I need to keep working on it.
After rolling out an original Task-Bot concept, I felt limited by the 2-Dimensional space in which I was working. The possibilities for emergent behavior felt limited for me.
Previous failed attempts at learning modern OpenGL were keeping me from taking the plunge, but at the end of July I somehow managed to break through the mental barrier. Now, at the end of October, I have a strong enough grasp on the concepts that I have rolled out my own simple voxel based engine as an environment for my Task-Bots to live and thrive in.
I decided to make my own engine because I wanted full visual control and as a challenge to myself. In a sense I am totally reinventing the wheel, but I am having a great time doing it!
The end goal for the entire project is a full ecosystem simulation, with the bots acting as agents that manipulate and interact with the environment.
Because the engine is now quite progressed and I am shifting my focus back to the programming of the bots, I have decided to write a post about the engine and its features and implementation, so I can focus more on the high-level stuff in the future
Engine Concept
The engine is written entirely in C++ from scratch (with a few exceptions, like path-finding). I use SDL2 for rendering context and input handling, as well as OpenGL to draw the 3D scene, and DearImgui for simulation control.
The choice of using voxels was mostly because I wanted to work on a grid, which as a number of benefits:
- Meshing for rendering is well understood.
- Possibilities for storage of world data are more diverse and well understood.
- I have already built systems for terrain generation and climate simulation on grids.
- Bot tasks are easier to parameterize on a grid.
The engine consists of a world-data system, a rendering system and a number of helper classes (e.g. audio or input handling.
Below, I will go through the current feature list as well as dive into some more detail on the more complex subsystems.
World Class
The world class acts as a master class for containing the world information. It handles generation, loading and saving of block data.
Block data is stored in fixed-size chunks (16^3), and the world maintains a vector of the chunks loaded in virtual memory. For large worlds, it is practically necessary to only keep a certain portion of the world loaded at a time, which is why I opted for this approach.
class World{
public:
  World(std::string _saveFile){
    saveFile = _saveFile;
    loadWorld();
  }

  //Data Storage
  std::vector<Chunk> chunks;    //Loaded Chunks
  std::stack<int> updateModels; //Models to be re-meshed
  void bufferChunks(View view);

  //Generation
  void generate();
  Blueprint blueprint;
  bool evaluateBlueprint(Blueprint &_blueprint);

  //File IO Management
  std::string saveFile;
  bool loadWorld();
  bool saveWorld();

  //other...
  int SEED = 100;
  int chunkSize = 16;
  int tickLength = 1;
  glm::vec3 dim = glm::vec3(20, 5, 20);

  //...
Chunks contain block data in a flat array, as well as some other metadata. Originally, I implemented my own sparse octree for storing chunks, but found that the random access time was too slow for meshing. While the flat array is not optimal in terms of memory, it allows for very fast meshing and block manipulation, as well as access for path finding.
class Chunk{
public:
  //Position information and size information
  glm::vec3 pos;
  int size;
  BiomeType biome;

  //Data Storage Member
  int data[16*16*16] = {0};
  bool refreshModel = false;

  //Get the Flat-Array Index
  int getIndex(glm::vec3 _p);
  void setPosition(glm::vec3 _p, BlockType _type);
  BlockType getPosition(glm::vec3 _p);
  glm::vec4 getColorByID(BlockType _type);
};
If I ever implement multi-threaded saving and loading of chunks, then converting the flat array to a sparse octree and back might be a viable option for saving memory. There are definitely improvements to be made!
My sparse octree implementation is still located in the code, so feel free to steal it.
Chunk Storage and Memory Handling
Chunks are only visible if they are within render distance of the current camera position. This means loading and meshing chunks dynamically as the camera position moves.
Chunks are serialized using the boost library, and the world data is stored in a simple text file, where each chunk is a line in the file. They are generated in a specific order, so that they are “ordered” in the world file. This is important for later optimizations.
For big world sizes, reading the world file and loading / writing chunks represents a major bottleneck. Ideally, we only perform a single load and pass over the world file.
To implement this, the World::bufferChunks() method deletes chunks that are in virtual memory but not visible, and loads new chunks from the world file intelligently.
The intelligent part is simply deciding what new chunks want to be loaded, sorting them by their position in the save file, and performing the single pass. Easy-Peasy.
void World::bufferChunks(View view){
   //Load / Reload all Visible Chunks
   evaluateBlueprint(blueprint);

   //Chunks that should be loaded
   glm::vec3 a = glm::floor(view.viewPos/glm::vec3(chunkSize))-view.renderDistance;
   glm::vec3 b = glm::floor(view.viewPos/glm::vec3(chunkSize))+view.renderDistance;

   //Can't exceed a certain size
   a = glm::clamp(a, glm::vec3(0), dim-glm::vec3(1));
   b = glm::clamp(b, glm::vec3(0), dim-glm::vec3(1));

   //Chunks that need to be removed / loaded
   std::stack<int> remove;
   std::vector<glm::vec3> load;

   //Construct the Vector of chunks we should load
   for(int i = a.x; i <= b.x; i ++){
     for(int j = a.y; j <= b.y; j ++){
       for(int k = a.z; k <= b.z; k ++){
         //Add the vector that we should be loading
         load.push_back(glm::vec3(i, j, k));
       }
     }
   }

   //Loop over all existing chunks
   for(unsigned int i = 0; i < chunks.size(); i++){
     //Check if any of these chunks are outside of the limits
     if(glm::any(glm::lessThan(chunks[i].pos, a)) || glm::any(glm::greaterThan(chunks[i].pos, b))){
       //Add the chunk to the erase pile
       remove.push(i);
     }

     //Don't reload chunks that remain
    for(unsigned int j = 0; j < load.size(); j++){
        if(glm::all(glm::equal(load[j], chunks[i].pos))){
            //Remove the element from load
            load.erase(load.begin()+j);
        }
    }

    //Flags for the Viewclass to use later
    updateModels = remove;

    //Loop over the erase pile, delete the relevant chunks.
    while(!remove.empty()){
        chunks.erase(chunks.begin()+remove.top());
        remove.pop();
    }

    //Check if we want to load any guys
    if(!load.empty()){
        //Sort the loading vector, for single file-pass
         std::sort(load.begin(), load.end(),
             [](const glm::vec3& a, const glm::vec3& b) {
               if(a.x > b.x) return true;
               if(a.x < b.x) return false;
               if(a.y > b.y) return true;
               if(a.y < b.y) return false;
               if(a.z > b.z) return true;
               if(a.z < b.z) return false;
               return false;
             });

        boost::filesystem::path data_dir( boost::filesystem::current_path() );
        data_dir /= "save";
        data_dir /= saveFile;
        std::ifstream in((data_dir/"world.region").string());

        Chunk _chunk;
        int n = 0;

        while(!load.empty()){
            //Skip Lines (this is dumb)
            while(n < load.back().x*dim.z*dim.y+load.back().y*dim.z+load.back().z){
                in.ignore(1000000,'\n');
                n++;
            }

            //Load the Chunk
            {
            boost::archive::text_iarchive ia(in);
            ia >> _chunk;
            chunks.push_back(_chunk);
            load.pop_back();
            }
        }
        in.close();
    }
}
Additionally, I set a flag that says that the loaded chunk needs to be re-meshed by the renderer.
Blueprint Class and the editBuffer
An editBuffer is a sortable container of bufferObjects, which contain the edit information in world space and chunk space.
//EditBuffer Object Struct
struct bufferObject {
  glm::vec3 pos;
  glm::vec3 cpos;
  BlockType type;
};

//Edit Buffer!
std::vector<bufferObject> editBuffer;
When making changes to the world, writing them to file immediately after making the change would mean passing through the entire text-file and writing the change FOR EVERY CHANGE. This is terrible.
Instead, I first write all changes that I want to make to the editBuffer using an addEditBuffer method (which also calculates the changes position in chunk-space). Before writing them to file, I sort the changes by the order of the chunk they belong to as they are located in the file.
Writing the changes to file then consists of a single pass over the file, loading every line (i.e. chunk) that has a change in the editBuffer, making all the changes, and then writing it to a temporary file, until the editBuffer is empty. This is done in the evaluateBlueprint() function. This is quite fast.
bool World::evaluateBlueprint(Blueprint &_blueprint){
//Check if the editBuffer isn't empty!
if(_blueprint.editBuffer.empty()){
return false;
}
//Sort the editBuffer
std::sort(_blueprint.editBuffer.begin(), _blueprint.editBuffer.end(), std::greater<bufferObject>());
//Open the File
boost::filesystem::path data_dir(boost::filesystem::current_path());
data_dir /= "save";
data_dir /= saveFile;
//Load File and Write File
std::ifstream in((data_dir/"world.region").string());
std::ofstream out((data_dir/"world.region.temp").string(), std::ofstream::app);
//Chunk for Saving Data
Chunk _chunk;
int n_chunks = 0;
//Loop over the Guy
while(n_chunks < dim.x*dim.y*dim.z){
if(in.eof()){
return false;
}
//Archive Serializers
boost::archive::text_oarchive oa(out);
boost::archive::text_iarchive ia(in);
//Load the Chunk
ia >> _chunk;
//Overwrite relevant portions
while(!_blueprint.editBuffer.empty() && glm::all(glm::equal(_chunk.pos, _blueprint.editBuffer.back().cpos))){
//Change the Guy
_chunk.setPosition(glm::mod(_blueprint.editBuffer.back().pos, glm::vec3(chunkSize)), _blueprint.editBuffer.back().type);
_blueprint.editBuffer.pop_back();
}
//Write the chunk back
oa << _chunk;
n_chunks++;
}
//Close the fstream and ifstream
in.close();
out.close();
//Delete the first file, rename the temp file
boost::filesystem::remove_all((data_dir/"world.region").string());
boost::filesystem::rename((data_dir/"world.region.temp").string(),(data_dir/"world.region").string());
//Success!
return true;
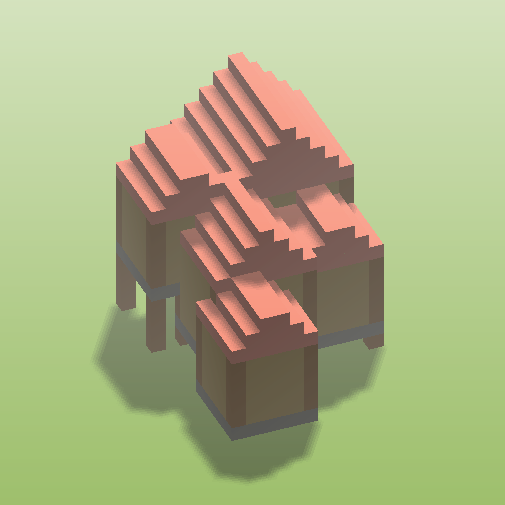
}The blueprint class contains an editBuffer, as well as a few methods that allow for creating editBuffers of specific objects (trees, cacti, huts, etc.). The blueprint can then be translated to the position the object should be placed, and then simply written to world memory.
One of the main challenges when working with chunks is that doing multi-block changes across chunk boundaries can be tedious, with a lot of modulo arithmetic and slicing the changes into multiple parts. This is a major pain point that the blueprint class tackles seamlessly.
I use this heavily during world-generation to limit the bottle-neck of writing the changes to file.
void World::generate(){
//Create an editBuffer that contains a flat surface!
blueprint.flatSurface(dim.x*chunkSize, dim.z*chunkSize);
//Write the current blueprint to the world file.
evaluateBlueprint(blueprint);
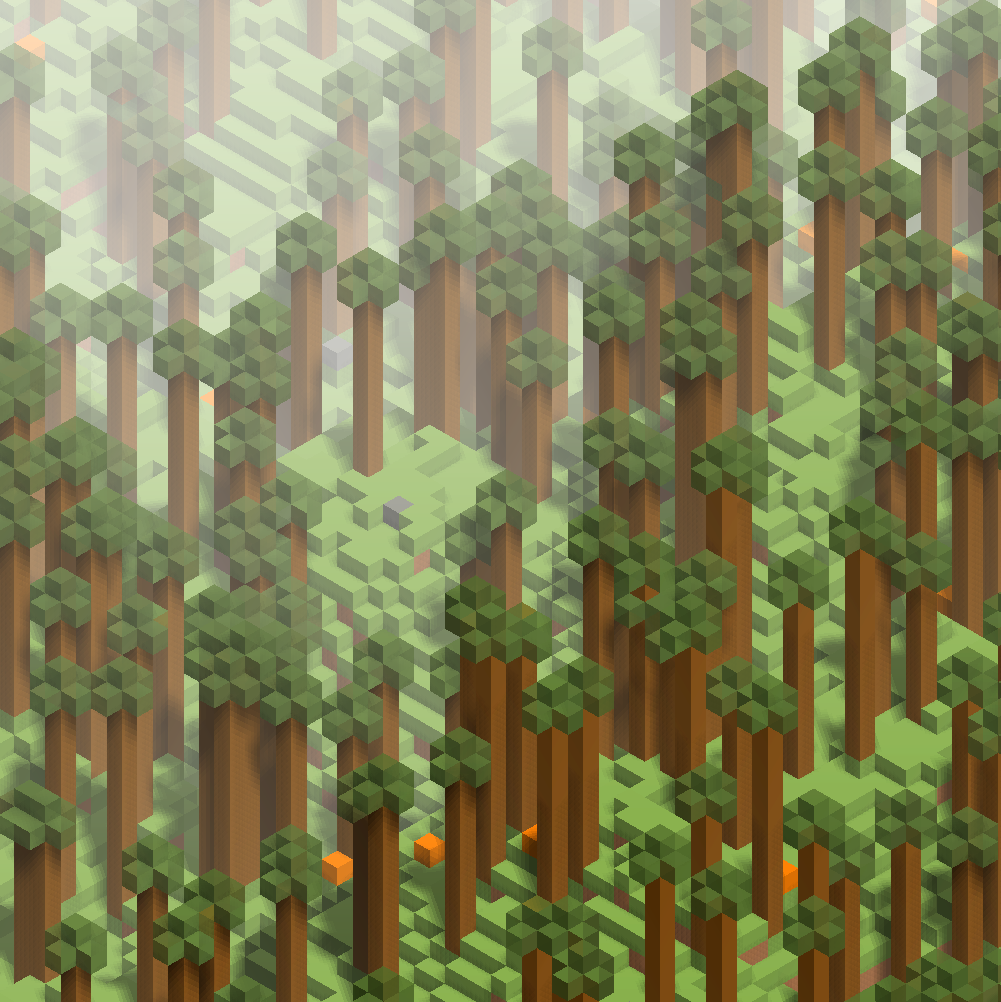
//Add a tree
Blueprint _tree;
evaluateBlueprint(_tree.translate(glm::vec3(x, y, z)));
}The world class maintains its own blueprint of changes that have been done to the world, so that when bufferChunks() is called, any changes are written to hard memory before chunks are deleted from virtual memory, in a single pass.
Rendering
The renderer is not too complicated in its structure, but requires some OpenGL knowledge to understand. Not all parts are interesting, and most of it is just to wrap the OpenGL functionality. I did spend quite a while playing with the visualization to get something that I liked.
Because this isn’t a first-person simulation, I opted for an orthographic projection. This could have been achieved with a pseudo-3D format (i.e. pre-projecting tiles and stacking them in a software renderer), but this seemed nonsensical. I am happy I made the jump to OpenGL.

The master class for rendering is called View, and contains most of the important variables that control how the simulation is visualized:
- Screen and shadow texture sizes
- Shader Objects, Zoom factors, matrices, etc.
- Booleans for almost every renderer feature
- Menu, Fog, DOF, Texture Grain, etc.
- Colors for lighting, fog, sky, picker box, etc.
A number of helper classes then handle the actual rendering and OpenGL wrapping!
- Shader Class
- Load, compile, link and use GLSL shaders
- Model Class
- Contains VAO of chunk data for drawing, a meshing function and render method.
- Billboard Class
- Contains an FBO for rendering to – useful for post-processing effects and shadow mapping.
- Sprite Class
- Draws a camera-oriented quad, loaded from a texture file (for bots and items). Also can handle animations!
- Interface Class
- For dealing with ImGUI
- Audio Class
- Super rudimentary music support (lmao if you compile the engine press “M”)
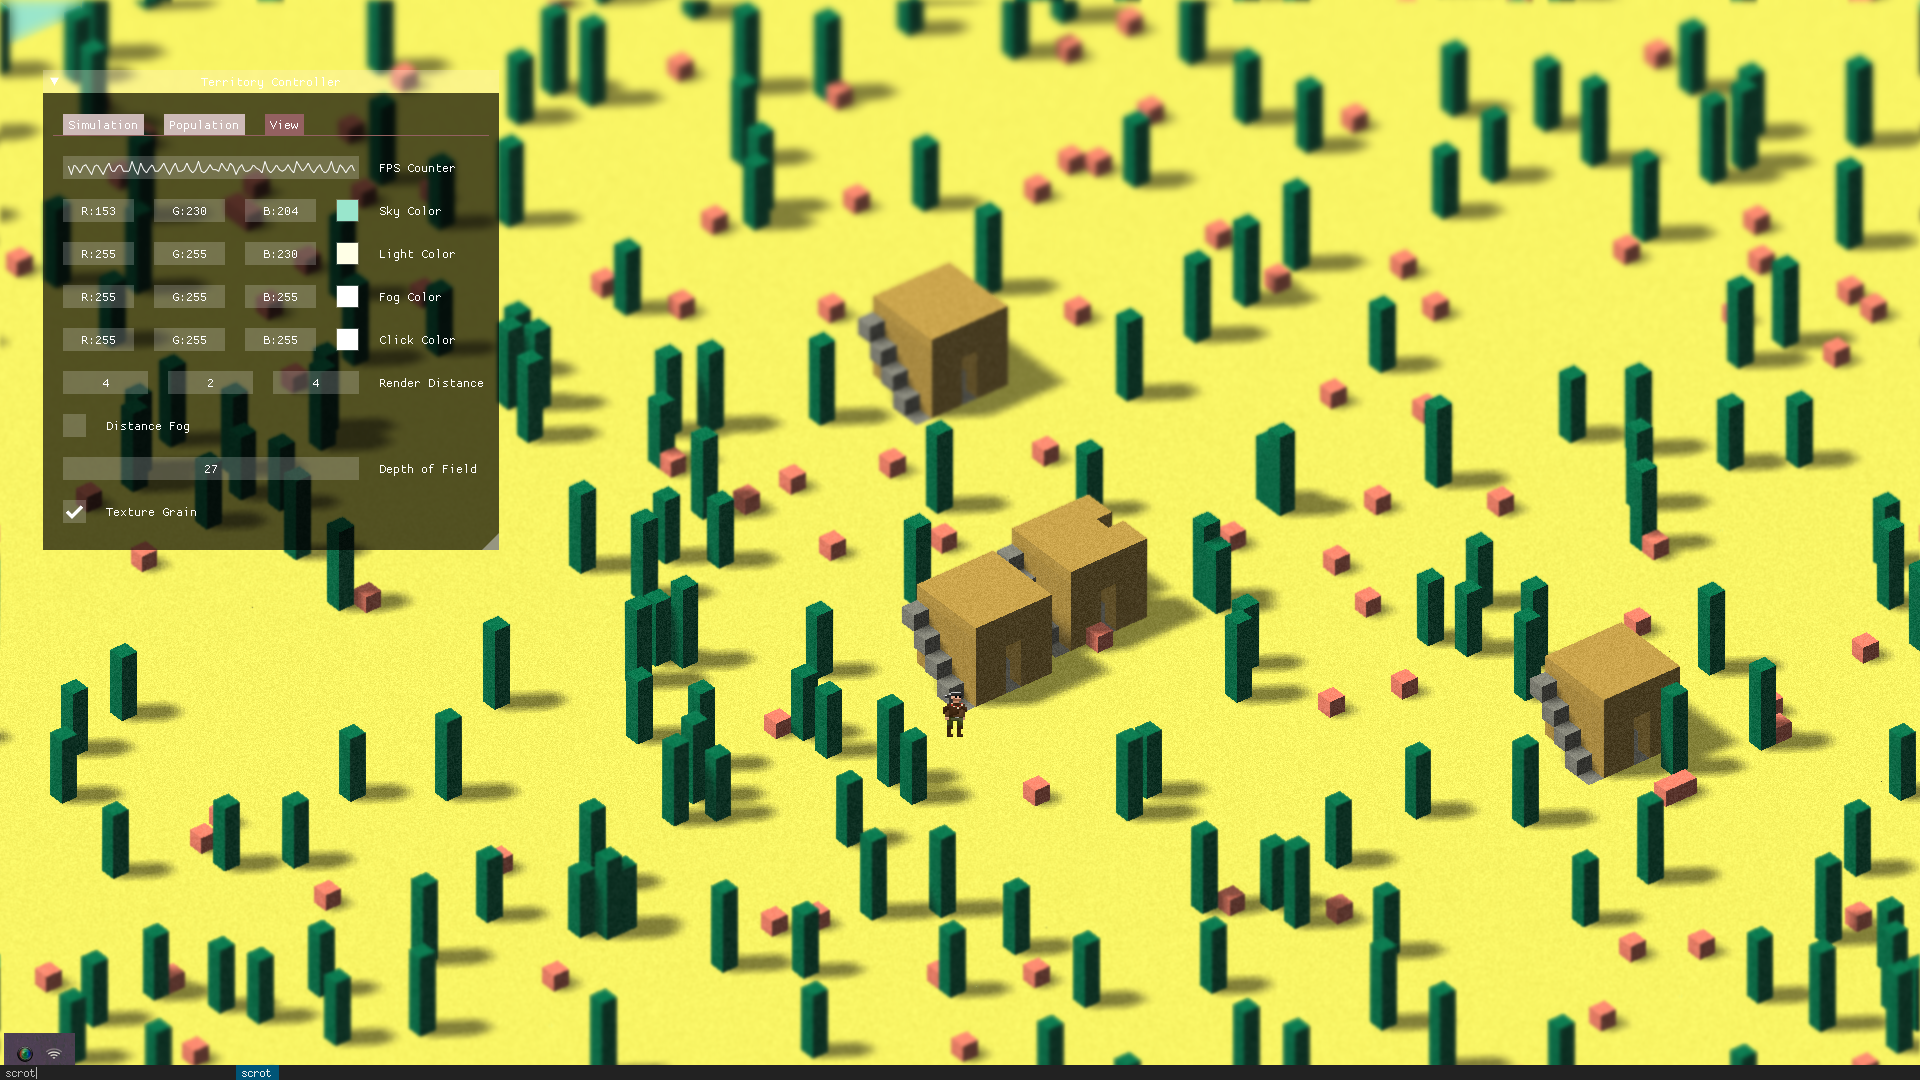
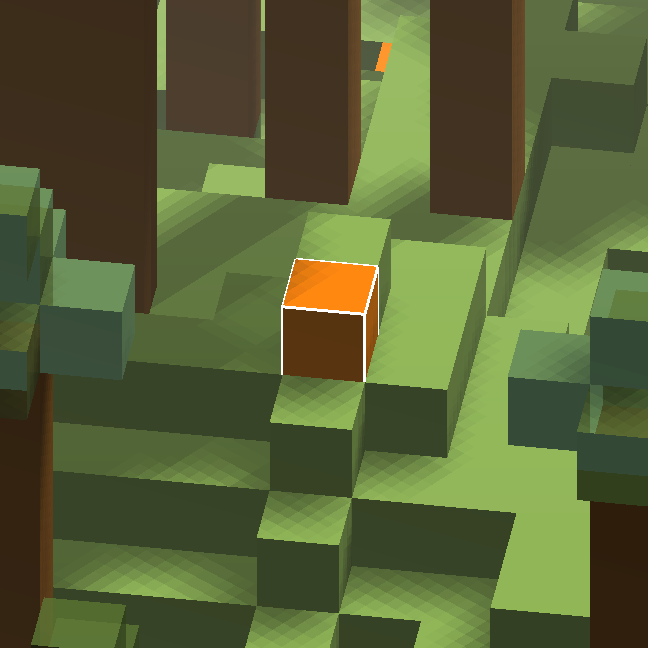
In the picture above, you can see some parameters that are manipulable within the manipulation. I also have toggle-able fullscreen. You can see an example of a bot’s sprite being rendered as a textured quad facing the camera at his position. The huts and cacti in the image were constructed using a blueprint.
Meshing of Chunks
Originally, I used a naive version of meshing, where I simply constructed a cube and omitted faces that weren’t facing air. This was still slow though, and an even bigger bottleneck than file access when loading new chunks was the meshing.
Meshing the chunks into renderable VBOs efficiently was a major struggle, but I managed to implement my own C++ version of “greedy meshing” that is compatible with OpenGL (that doesn’t have strange loop structures). If you want to steal the code, go for it.
void Model::fromChunkGreedy(Chunk chunk){
//... (this is part of the model class - find on github!)
}
Overall, the switch to greedy meshing reduced the amount of quads I was drawing by on average 60%. Then, some further minor optimizations (VBO indexing) reduced it by another 1/3 (from 6 vertices per face to 4).
When rendering a scene of 5x1x5 chunks in a non-maxed window, I get about 140 FPS on average (with VSYNC deactivated).
While I am quite satisfied with that result, I still have to come up with a system for drawing non-cuboid models from world-data. This is not too easy to integrate with greedy meshing, and I will have to give it some thought.
Shaders and Picking
Implementing GLSL shaders was some of the most fun and definitely the most frustrating part of writing the engine, due to difficulty in debugging stuff on the GPU. I’m not an expert in GLSL, so there was lots of hands-on-learning.
The effects I have implemented rely heavily on the use of FBOs and texture sampling (for instance blur, shadow mapping, and general use of depth information).
I am still not satisfied with my current lighting model, as it can’t handle “darkness” very well. This will hopefully be fixed in the future when I work on a day-night cycle.
I also implemented a basic picker using a modified Bresenham’s Algorithm (another advantage of using voxels). This is useful for extracting spatial information from the simulation live! My implementation only works for orthographic projections, but feel free to steal it.
Game Classes
A number of helper classes are used for input handling, debug logging, and a separate Item class that has basic functionality (but will be expanded in the future).
class eventHandler{
/*
This class handles user input, creates an appropriate stack of activated events and handles them so that user inputs have continuous effect.
*/
public:
  //Queued Inputs
  std::deque<SDL_Event*> inputs; //General Key Inputs
  std::deque<SDL_Event*> scroll; //General Key Inputs
  std::deque<SDL_Event*> rotate; //Rotate Key Inputs
  SDL_Event* mouse; //Whatever the mouse is doing at a moment
  SDL_Event* windowevent; //Whatever the mouse is doing at a moment
  bool _window;
  bool move = false;
  bool click = false;
  bool fullscreen = false;

  //Take inputs and add them to stack
  void input(SDL_Event *e, bool &quit, bool &paused);

  //Handle the existing stack every tick
  void update(World &world, Player &player, Population &population, View &view, Audio &audio);

  //Handle Individual Types of Events
  void handlePlayerMove(World &world, Player &player, View &view, int a);
  void handleCameraMove(World &world, View &view);
};
My event handler is not pretty but functional. I am open to tips on how to improve it, particularly when using SDL Poll Event.
Final Remarks
The engine itself is just a system in which to place my task-bots, which is what I want to focus on in my next blog post. Still, if you find some of the methods I use interesting and want to use them or know more, feel free to or contact me.
Finally, I ported that task-bot system (the real heart and soul of this project) into the 3D world and have already expanded their capabilities significantly, but will follow up on that (although the code is already online)!
Note: When I first showcased my task-bot system, I said I would try to release the code for it soon, but I didn’t get around to it until now (things got in the way). Apologies for that! You can peek at the full task-bot code now anyway if you are interested
Note 2: The follow-up post has been released [here].